Monday 20 June 2011

Sticky Chocolate Covered Chocolate Brownies

First up sorry for the lack of posts lately, but I haven't been cooking a lot. I've been eating a lot of couscous with different things in it for lunch, as it's healthy and easy! I must get back to cooking though, I miss it.
Anyway, never mind that. These brownies are very sticky, and gooey, and rich. In fact I can just about get through one, but that's probably a good thing, because they are VERY bold!
So here we go.

Ingredients-
Brownies(about 9)-
200g plain chocolate
75g milk chocolate
115g butter
100g light brown sugar
50g white sugar
2 eggs
15ml vanilla extract
70g flour
100g chopped toasted pecans (also leave some whole ones for decoration)
150g white chocolate chopped into little pieces

Sticky Chocolate Gooey Goodness-
100g plain chocolate
70g milk chocolate
50g butter
30ml golden syrup
10ml vanilla extract

Method-Topping:

1. Chop everything up nice and small.

2. Melt gently in a pot, making sure to stir a lot.

3. Allow to chill for at least an hour, and that's it easy!

Brownies:

1. Preheat the oven to 180°C.

2. Put the plain and milk chocolate, and butter into a large pan and melt gently stirring a lot.

3. When that's melted add the sugar and stir until dissolved.

4. Beat in the eggs quickly so they don't scramble, also add the vanilla.

5. Stir in the flour a little, just until it's just mixed in, then add the pecans and white chocolate.

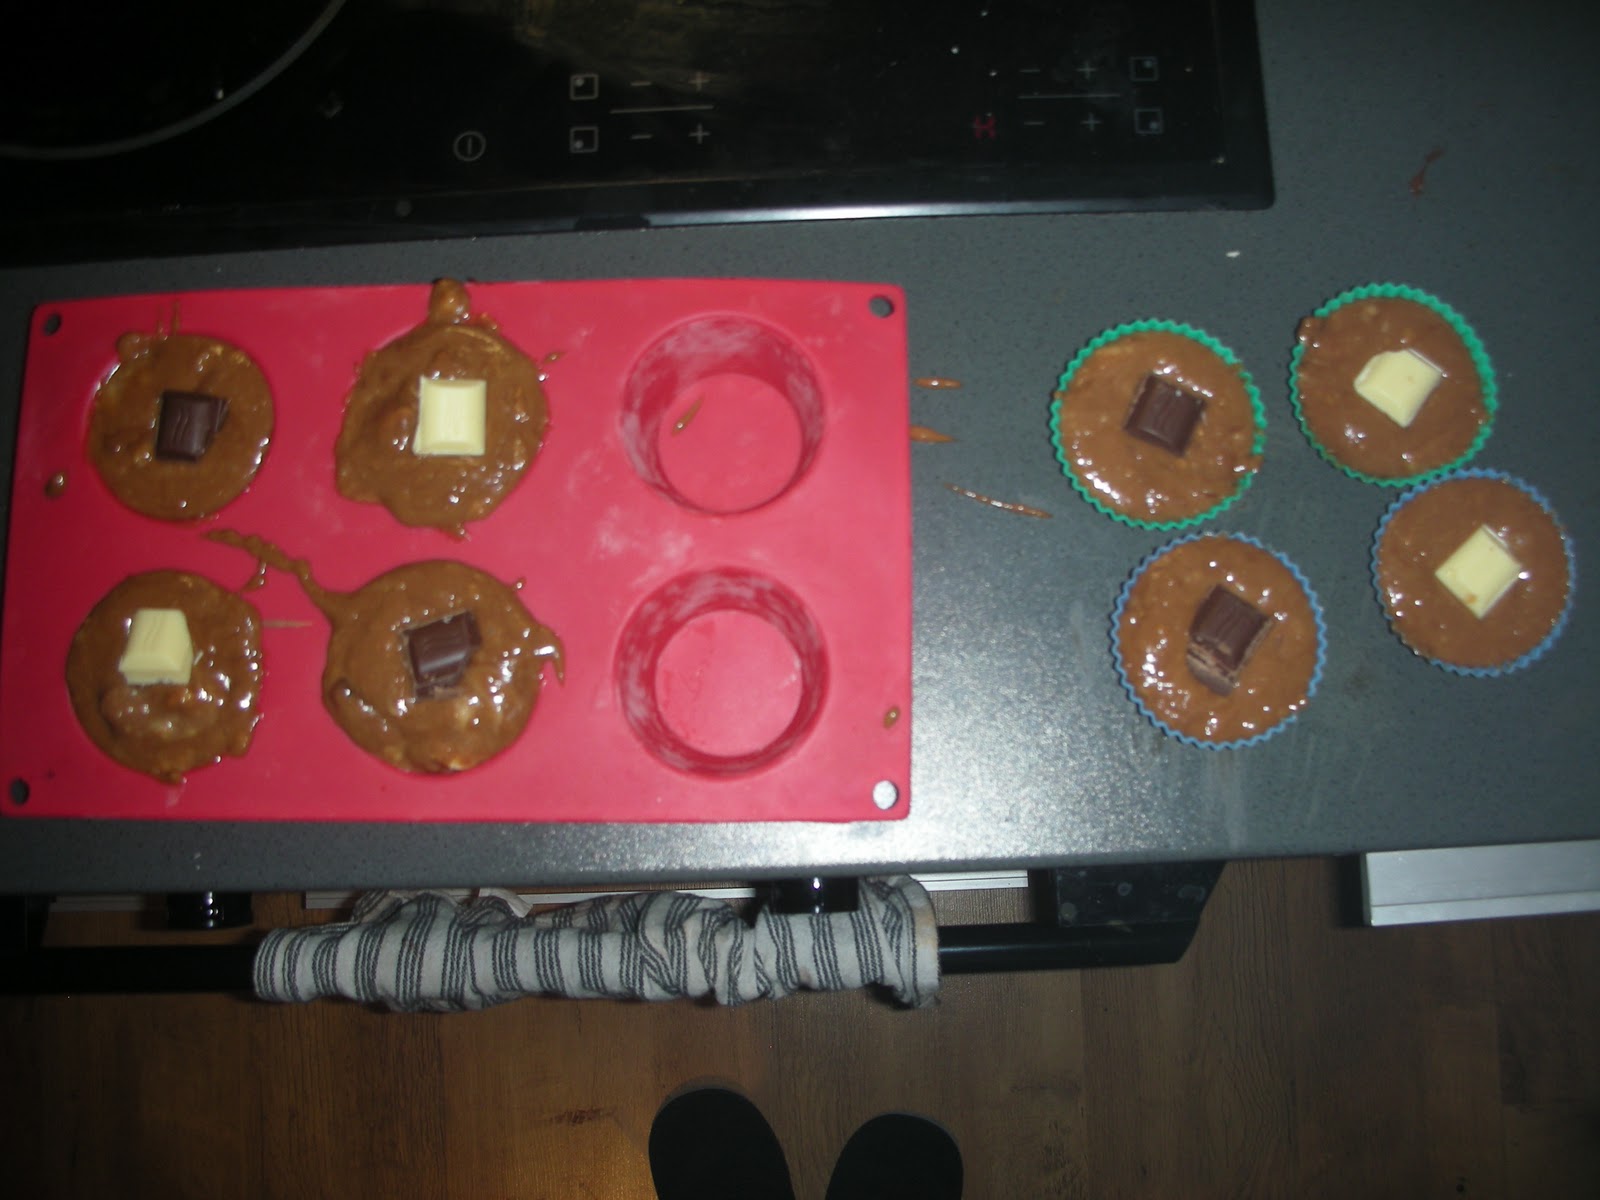
6. Pour the mix into a baking tray, I like the shape I used as it makes nice deep brownies. Have the tray lined with tinfoil that has been well greased with butter.


7. Bake for 30 minutes or so, until a knife stuck into the centre comes out clean'ish.

8. Leave to cool in the tray on a rack for about half an hour, then remove (using the clever tinfoil wrapped around it) and leave to cool for a couple of hours, or until cool!


9. Spread the topping over the Brownie cake thing, then decorate with pecans and cut into Brownies!


A couple of things on this one. When I made it I baked it for half an hour and it came out a little soft, so 35 minutes, or even at a slightly higher temperature for 30 minutes, I haven't tried either, but I will post if I do!
Also play with the ratio of milk to plain chocolate, the way I've put it still makes it quite rich, if you prefer it less rich, use more milk chocolate. Also.......enjoy :-) x.

Tuesday 5 April 2011

Melting 'centre' muffins

Oh yes, you read correctly, the reason I used the quotation marks is that some of them were melted in the centre, some at the bottom, some at the top, but there was something melt-y in them all!!

The muffin recipe was given to me by the lovely Cathy O'Boyle and the rest I came up with, with the help of the internet as usual.

Ingredients-
Muffins(makes about 6 large ones)-
150g flour
50g caster sugar
1 tsp baking soda
a pinch of salt
50g butter
100ml milk
1 egg
115g milk chocolate
 Some more milk/white/dark chocolate for chunks

Centre-
200g chocolate
200ml single cream


Method-Centre:

1. Melt chocolate in a double boiler or bain-marie (or a bowl over a pot of boiling water).

2. Whisk in the cream until it's smooth.

3. Let the mixture cool, then make it into little sausage shapes the size of the top of your thumb-ish. Wrap them in cling film, put in a freezer bag and freeze solid!

Muffins:

1. Melt the chocolate and butter separately and let cool a little.

2. Mix together the dry ingredients.

3. Mix together the egg and milk.

4. Mix the wet into the dry (including the chocolate and butter) gently and until just combined, don't over do it. Then add as much chocolate chunks as you like, about 250g more is plenty. I tend to just bash up a couple of chocolate bars.

5. Put the mixture into fairly big muffin molds, pouring in half then adding the frozen 'centres' then topping up making sure they are covered.


6. Put the muffins into an oven at 250°C  for about 5 minutes then put the heat down to 180°C for about 15 more. Then take the muffins out and allow to cool.


A few notes needed on these I feel. The center is actually just a chocolate ganache, so when the muffins are cold it is more of a creamy centre, when they're warm though it is melty and nice!Also you may notice I put bits of chocolate on the top of the muffins-not a good idea, because when the centre, is actually in the centre it falls into the melty bit, which is nice, but doesn't look as good!
Oh and obviously if you just make them without the centre, they make lovely chocolate chunk muffins, which are tasty too!

Other than that, enjoy!

Tuesday 1 March 2011

Chorizo and Sausage Goulash

Oh yes, I said it, and it's goooooood. Got this off "Something for the Weekend" and I liked how it looks so much that I tried it! Also I made it for my lunch this week, and it keeps wonderfully well, and has a lovely thick sauce to it, that just LOVES loads of bread to soak it up.

It is also one of the shorter-cooking weekly meals I've made in a while, takes only about an hour from start to finish. Not sure it's the healthiest though, but it's not too bad, I've tried to be good on the the days I've it though, cos it's full of yummy/bold things.

Anyway here it is.

Ingredients-
225g Chorizo
800g Beef sausages (or pork ones I'm sure would be lovely, or any sausages for that matter)
1 onion sliced thin
2 cloves of garlic chopped up finely
1 red pepper sliced
2-3 chilis seeded or not again depending on how hot you want it ;)
1-2 tbsp paprika or even more if you like paprika!
olive oil
200ml of beef stock
100g flour
50g-100g sour cream
salt and pepper to taste
a hand full of fresh parsley

Method:

1. Preheat your oven to 180°C. In a large pot, fry the sausages and chorizo in a small amount of olive oil until they are nice and brown and crispy (try to avoid eating them all at this stage-I almost made that mistake)

2. Take them out and sweat the onions in garlic in the copious amount of lovely red tainted oil (sweat=gently fry until transparent not brown).

3. Then add the flour and fry for a little longer, then put back in the sausages, chorizo, sliced red pepper, chilis and the stock.

4. After you put in the stock then add the paprika NOT before as it burns easily and isn't nice when burned.

5. Then put the pot in oven for about half an hour to 40 mins.

6. Take it out and stir in as much sour cream as you like-depending on how creamy you like it. I used about 50g and it was nice and thick.

7. Add the parsley, chopped, to the top and enjoy!

As I said I had it with LOADS of bread. Think they had it with rice on SFTW, anyway have it with whatever you like.


Let me know what ya think peeps!

Wednesday 23 February 2011

Guacamole

OK here's an easy one! Had a craving for it this week, so I made it. Sooooo much better, and cheaper than the one's you can buy, and you add what you like so I just think it's great.

Ingredients-
1 avocado
1 small red onion (gotta be red, white are a bit strong)
1 clove of garlic (or more if you like)
olive oil
salt and pepper
juice of a half to one lime-to taste.
2-3 cherry tomatoes 

Method:

1. Cut the avocado in half and take out the seed (really easy if you just chop the knife into it and pull it quickly out). The scoop out the flesh.

2. Dice the onion into very small chunks and mash the garlic, and chop the tomatoes into small chunks.

3. Put the avocado into a bowl and mash it with a fork...OR... you could be lazy like me and put it in a food processor (with the tomatoes roughly chopped, onions and garlic if you like) and make it smooth, either way about half way through slowly add the oil until it's as smooth as you like, or don't add it at all! I like it as it makes it very smooth.

4. When it's as smooth or chunky as you like then stir in everything else, to taste!

There you go, very easy, and looovely!

Friday 11 February 2011

Homemade Spring Rolls

So, I had a Chinese take away the other night, over did it a bit, was amazing, lovely greasy food. It's needed every now and again I think! Anyway I thought everything was nice (as nice as deep fried crap can be) except for the spring rolls, they were soggy, and bland, and too fat, and just awful. Then the next morning I saw AWT making them on the telly, and it looked very easy, and I figured if I made them myself I could put what I want in them, and they would be fresh, and hot, and lovely. Not to mention bloody easy :)

Also, at the start of the week I made chili for my lunch, but I'm still not exactly happy with my chili, but when I am, I will post the recipe!

Ooh, and for dinners I've been having pork chops, which I marinated at the start of the week in various things, I use one of them in the spring rolls!

So less chat more recipe!

Ingredients(makes about 8 spring rolls)-
spring roll sheets (from Chinese food shops)
fish sauce
soy sauce
1 pork chop (marinated or not, I did mine in onion, garlic, oil, chili and paprika)
1 tin of beansprouts
1 carrot
salt and pepper

Method:

1. Cut the pork chop into strips leaving a little fat at the end of each strip, or take it off if you like.

2. Cut the carrot into longish strips too, not too long though, as it will get hard to deal with.

3. Put the above and everything else into a bowl and mix well.

4. Put a small amount of the mixture (up to you how much) at the top of the sheet and roll up the spring roll, keeping it tight the whole time. Make sure to tuck in the sides as you go, from the start, and at the end use a little bit of water and flour to seal it. Look up Daily Cook's Challenge from one day last week I think, to see AWT doing it.


5. Put the rolls gently in some hot oil-I did mine by putting about an inch of oil in my frying pan. Make sure they don't touch each other for about 30 seconds, and try not to touch them for about 30 seconds, or they will burst open, and become very greasy. Also make sure the oil is hot enough so they don't become oily, and not too hot that they burn before the pork is fully cooked.


6. Put them on some kitchen paper and I ate mine with sweet chili sauce mmmmmmh!

The spring roll sheets need to be soaked in water for a few seconds before use, and rolling takes some practice. I had these 2 days in a row, and the first day they all fell apart bar one, and the oil was cold so they were greasy. But even with that one practice day, the second time they were much better, can't wait to make them again!!!

Sunday 6 February 2011

Roasted Garlic Soup

If you want to get rid of vampires, or an over amorous co-worker (here's looking at you Tim!!) this is the soup for you. Well I guess if, like me, you just LOVE garlic you could make it too. I really love this soup, I found a recipe for it about 5 years ago, and forgot about it until this week, but I will be making it more often now that I remember how much I love it.

This is a very very simple dish, and I would encourage anyone who likes garlic to make it. I froze some of it too, and had it the day after, and it was just as good, if not better. It's also not too high in fat or calories. Some of the recipes I found have double cream, butter and other delicious but very bold things.

So here we go- Roasted Garlic Soup (4 servings-ish)

Ingredients-
4 medium to large bulbs of garlic
a small onion
olive oil
whatever herbs you like dried or fresh (I used dried rosemary and thyme)
3-4 tbs of flour
1L of water, chicken or veg stock (it's a little nicer with the stock)
salt and pepper

Method:

1. Cut the bulbs of garlic in half and leave them for a few minutes.

2. Put about a half cm of olive oil in a small ish baking tray, and place the bulbs cut side down, put into a preheated oven at about 150°C for an hour or so.


3. Fry the onions in a pot big enough to contain the litre of liquid you will be putting in,

4. When they are done squeeze the cloves out of the bulbs, and put them in the pot with the fried onion.


5. Mop up the oil in the baking tray with the flour and put it into the pot too.

6. Mash the mixture with a potato masher until it becomes a smooth paste, with a medium heat still under the pot so the mixture keeps cooking a bit.


7. Put in the stock and herbs and simmer for about 20 minutes. I also blended it after that to mix up the skin that formed, and smooth it out a bit.


8. Season with the salt and pepper to taste.

So there you go garlic soup-with some toasted cheesey bread!


Surprisingly filling too so it is, like seriously, I was stuffed, and that usually takes quite a bit.
More lovely recipes to come soon!

Wednesday 2 February 2011

Poached eggs

Alright, so since my last post I haven't been doing any major cooking, well any worth speaking of anyway, I had my soup for a week, then I went to London for the weekend, and tonight I cooked jerk pork for my lunches for the week. So in short nothing new really.
 
However I have been doing a lot of poaching of eggs these days! My god I love a poached egg, but for years I had a lot of trouble doing this. I've tried 4 or 5 different methods of doing it, and I couldn't find one that had a high enough success rate-bearing in mind I don't poach eggs often enough to get really good at it!

Recently, however, I came across a great method from a certain couple of bikers, with beards! It's simple, doesn't take much practice, and works (for me) about 5 out of 6 times!

Ingredients-
1 egg
a dash of white vinegar


Method:

1. Boil a pot of water with the vinegar and put your whole egg into it gently for exactly 25 seconds if it's straight from the fridge or 20 seconds if it's at room temperature.

2. Take the egg out and let all of the water run off, it shouldn't be too hot, when you can touch it crack the egg and gently put it on a side plate so it stays together-ish.

3. Then make sure the water is boiling, give it a good swirl and slide the egg gently into it, then just cook to taste!

A few points on this one:
-if the egg cracks when it goes into the water I find it doesn't work, also if you don't let all the water and egg mix on the plate (so make sure ALL of the water runs off before cracking). Also it's less likely to crack if it starts at room temperature.
-if you are doing one after another, then if there is bits of white left in the water it will boil like crazy, so fish them out or change the water.
-you can use any vinegar, but if has colour in it the white will take on some if the colour
-be exact with the boiling time

So that's it, a poached egg. Look up the Hairy Bikers doing it, it's dead easy!

Monday 24 January 2011

Veg and Chili soup

God I love soup! Especially after I saw some program on telly recently that told me that it keeps you fuller than the equivalent solid meal and it was on telly-so you know it's true ; )
So, yes this is my lunch for the week, I love the little bit of chili in my soup, but obviously it works just as well without it. I just love that little bit of excitement in my day!

Veg (and chili) Soup

Ingredients-
1 smallish Butternut squash
5 medium carrots
1 small parsnip(HATE parsnips, but they do add a little something to soup!)
1 small swede (or turnip or whatever you want to call it)
1 onion
2-3 cloves of garlic (I used 5 mmmmh smelly)
2 bird eye chilis
2 veg. stock jelly things
Dried herbs (I used rosemary and sage I think)
Ground coriander seed
Salt and Pepper


Method:

1. Peel and chop all of the veggies (I mean everything above-don't get smart!!) and dissolve the stock in 2 pints of water.


2. Put the squash in a tinfoil parcel with salt, pepper and some herbs,place in an oven at 200°C.


3. Fry the onion and garlic in some olive oil in the pot you are using for the soup (a big one) until they are see through (or brown like I did) then throw in the rest of the veg and keep frying for a bit.

4. Add the stock and a small bit more water (depending on how thick you want it), herbs, salt and pepper to taste. Bring to the boil and simmer for about 40 minutes, or until everything is really soft.

5. The squash should also be done now so take it out, make sure it's soft too, then pelt it in the pot and blend everything (I used my lovely hand blender)

6. That's basically it, adjust the salt and pepper and you're done!

There you go-see soup's easy peasy! Ooooh speaking of peas, I love me some frozen peas. So what I did was-at the end I added a few handfuls of frozen peas, and the heat left in the pot cooked them. I think it's lovely, might not be everyone's cup of tea (or soup, or whatever) but I like it!

That's all from me for this post, tune in next time for more boring cooking! Well I've had my fun, and that's all that matters : )  (please tell me someone got that?)

Thursday 20 January 2011

Jamaican Jerk Chicken

Once again I can't really claim that this is "authentic" Jerk chicken. For a number of reasons really, the first thing is that obviously I'm not Jamaican, and everything I know about it is what I could glean from the internet in the past couple of days. Also when I went to the supermarket to get the Scotch Bonnet Chilis that are supposed to go in it they had every other type of chili I could think of and even some I never knew existed, but no bloody Scotch Bonnets! So I got Bird Eye chilis for some heat, and some standard red chilis for some bulk!

Having said that it was really nice, I certainly liked it, so whatever it is, it's tasty!

Also I'm pretty sure this would go well with different sorts of meat, I used chicken, because I had it, and I like it in sandwiches, which is what I was cooking this for. Had one today for lunch actually, was gert lush!!

So then....here it goes-

Ed's Jamaican style Jerk Chicken (enough for 3 days worth of sandwiches, or 3 people I suppose)

Ingredients-
3 breasts of chicken (490g in total)
2 bird eye chilis
2 medium sized red chilis
1 medium onion
4 cloves of garlic
about 2-3tbs thyme-I kept going until I was bored of taking the leaves off the stalks to be honest!
3 tbs ground allspice
1 tsp ground coriander seed
1 tsp cinnamon
1/2 tsp ground black pepper
1/2 tsp salt
half of a nutmeg seed grated (about 1 tsp)
2 tsp golden syrup
3 tbs dark soft brown sugar
1 tbs olive oil
1 tsp white wine vinegar

Method (not much of a method here ha ha):

1. Preheat the oven to 200°C

2. De-seed the Bird Eye chilis and cut the ends off the other ones

3. Put the chilis, thyme, spices, salt, pepper, vinegar, golden syrup, sugar, oil, garlic and onion (or everything bar the chicken I suppose) into t blender and.........blend-it looks horrible, but it will taste lovely!


4. Slash the chick quite deeply, but not so deep it falls apart, put in a zip-lock bag with the blended mess, then into the fridge for I think it was 3 hours, because I had to go to Italian lessons, and that's how long it took to get home and cook it. No other reason!

5. Fry the chicken (with just the sauce that sticks to it) in a really hot pan until both sides are nice and browned.

6. Put them into a crock pot with the rest of the sauce, then into the oven at 200°C for about an hour, though I would imagine 40 minutes would do it, I kinda forgot, was still nice and tender though.

So there you go, Jerk chicken á la Ed! (,")


So basically I looked at a lot of recipes online and basically came up with the ingredients that I thought I would like the best together. If anyone is planning on making this one I would encourage you to do the same, because I'm sure what worked for me in this recipe and method won't work for everyone. As far as I can figure-the allspice, thyme and Scotch Bonnet chilis are the essential ingredients, the rest is fluff, tasty fluff though, damn tasty if I do say so myself  ;-) 

Thanks for reading, more to come soon!!


Some more notes on this one- using spring onions instead of normal onions works a little better.
Try not to over do it with the cinnamon. Most importantly taste it before you cook it, and adjust as needed!!

Tuesday 18 January 2011

Gratin Dauphinoise (Kinda)

So, I had this with my chicken yesterday, but I got lazy and decided to do the post for it today. Now I didn't really want anything too bold with the chicken so strictly speaking this isn't really Gratin Dauphinoise, but my lower fat version one, and to be honest I actually really liked it. I don't usually like low at versions of things, but this one was very nice.

Let's call it:

Low fat Gratin Dauphinoise (about 3-4 people worth, depending on how hungry you are!!)

Ingredients-
2 quite big potatoes
1 onion
3-4 cloves of garlic
300g reduced fat crème fraîche
200 ml skimmed milk
1 chicken or veg stock jelly thing-you know the ones I mean.
flat leaf parsely
plenty freshly grated parmigiano reggiano
salt and pepper
butter for greasing


Method:

1. Preheat an oven to 200°C.

1. Start by rubbing a baking tray (mine is about 15cm by 20cm) with some butter.

2. Put the crème fraîche in a pot on the hob with the stock jelly thing, and the milk. Add the milk bit by bit, as you might not need the full 200ml, I can't really remember how much I put in, it was about that much.

3. Then slice the potatoes (I did it one at a time to stop the slices going brown in the air). The slices should be nice and thin, I did it with a knife, but I'm sure a mandolin would be much quicker and easier!

4. Layer the potatoes in the baking tray making sure to put some salt and pepper, and garlic and onion between each layer. Don't over do it with the salt, I over did it a bit, but I like it salty!

5. Put a little bit of finely chopped parsley on top of the potatoes, then pour over the hot liquid. Make sure that the potato is well covered, if not add some more milk, bearing in mind it will dry out a bit in the hot oven.

6. Grate some parmesan over the top, plenty of it, mmmmmmmmh parmesan! (",)

7. Put it in the oven for about 40 minutes-I didn't cover mine, just make sure it doesn't burn on top, turn the heat up to 240°C and leave for another 10 minutes or so.


That's it-easy as that!
A few notes on this one:
-As mentioned before I put a good bit of salt between each layer and it was very salty, so be careful with that.
-Also there is a lot of garlic in this one, it is very garlic-ey. I LOVE garlic, but not everyone does, so you might want to reduce the amount in this.
-You will get a softer result if you bake it covered at about 170°C for about an hour before the uncovered cooking for 10 minutes at 240°C to crisp it at the end, but I hadn't the time this time, and this timing works well enough, just not as soft.
-Finally the crème fraîche I used was about 15% fat-quite good compared to the usual double cream (about 50% fat or more!!) that this dish usually demands.


Enjoy, and as usual comments/critiques are appreciated.

Monday 17 January 2011

Lemon and Mustard Chicken

Over the past couple of weeks I have been trying to put aside as much money as possible. In that vein I have had been making large meals at the start of the week and bringing some to work for lunch each day. It has worked amazingly well, as not only have I not had to spend as much money, but I've had a delicious lunch each day, that was exactly what and as much as I wanted, and I could count the calories a little, you know, to knock off some of those Christmas pounds!

Oh and this particular recipe was made up by me, I will let you know if ever I take inspiration from anyone, as I do, frequently!

So here we go- Ed's mustard Chicken (serves 3....ish, and you'll prob need some veg with it like : ) )

Ingredients-
3 breasts of chicken (490g total)
1 onion
4 cloves of garlic
1 lemon
1 fresh tomato and about 5 sun-dried tomatoes
2 tbs of strong English or Dijon mustard
1 tsp each of cumin and fennel seeds
Salt and Pepper

Method:

1. Preheat an oven to 150°C. I use a griddle pan for this one-so start with a really hot pan and put in the fennel and cumin seeds for about two minutes on their own.

2. In the meantime rub the chicken with some olive oil, salt and pepper

3. Then put the chicken on the pan, turn it over to get some good charring on both sides


4. Take the pan off the heat and start chopping the onions, garlic and all the tomatoes nice a finely. Mix that with the mustard and some of the oil from the sun-dried tomatoes.


5. Put the pan back on high heat and add the mustard mix for just about 30 seconds. Spreading the mix well over the chicken.

6. Then add the juice of the lemon and some olive oil and scrape the pan well and coat the chicken again.

7. Cover the pan with tin foil and put in the oven for about 40mins or until the chicken is cooked through.

Here is a picture-it's nice, but it sure ain't pretty :)


I had it with my next post. I have a picture, but the quality is very bad, so I didn't upload it!
Well there you go, mustard and lemon chicken. All comments gladly received and greatly appreciated.

Intro

So, I figure that I like cooking, and especially for other people! I don't get to do that very often for one reason or another so I've decided to start a cooking related blog about what I cook, how it was, and a recipe and instructions on what I cooked on that particular occasion.

I want to get one thing straight right off the bat- I'm not a cook, nor do I pretend to be, but I love cooking, and eating, and..well..food! So what I put on here is purely what I did to cook every meal I write about here, to my taste.Please feel free to give me advice on improving anything I make, but don't get all high and mighty about anything food related please. Life's too short, and there's a lot of food to get through.

So without further ado-my food blog! Enjoy!